Thursday, July 5, 2018

2018 NJCon AAR....

Friends,

On June 9th I attended Fire In The East, A.K.A NJCON, in Edison, NJ. I always enjoy this convention. I played in The Battle of Bauge, March 1421 a Modified Tactica event put on by John Spiess. 
The set-up with the English on the right, Franco-Scottish on the left.

Here is the game description:
The Battle of Bauge, March 1421
With Henry V back in England, the army was now commanded by his brother Thomas, 1st Duke of Clarence. He engaged a combined Franco-Scots army at Bauge. Instead of waiting for his entire army to assemble, he attacked with only a portion of troops, leading to a great defeat and his own death. What would have happened if he had waited just a few more hours for his archers to return from foraging?

Franco-Scottish

English of  Thomas, 1st Duke of Clarence
I played on the English side.....

Our first moves were to send the archers out to start peppering the Franco-Scots and see what they would do....


...they responded by moving their archers and crossbowmen out to answer.

The original English plan of "let's take it to them" was quickly modified (after we lost a couple of units) to "let's move out, draw them in, then reform our line and see if we hold."

Here we have moved our right out and they counter by sending units toward the gap in our line.


The next few turns have us reforming out lines.......

...and the Franco-Scots continue to press.

Heather Blush and Erin Spiess contemplating their next move. 


We left a gap in our center/left in attempt in an attempt to have them press there and then close with our mounted knights.....

A few turns later you can see the result of the archer fire by comparing the picture above and below.

The English were able to knock out units with archer fire which meant we were able to knock out 6 units (victory condition) before they were. So it ended up an English victory.

John put on a great game and as always, the figures were tremendous!!

Thursday, April 19, 2018

Cold Wars 2018 - Gnome Wars: The Battle for Tsingtao

Saturday Afternoon at Cold Wars.......

Gnome Wars: The Battle for Tsingtao
The Germans spread their breweries to the far corners of the world, including China. The German Far East Squadron control of part of the Shantung peninsula and the port at Tsingtao.
Gnome Wars The Germans spread their breweries to the far corners of the world, including China.
The pictures above and below shows the layout. The Japanese and British landed on the docks and had to capture the buildings so they have a place to launch their assault on the heights. (Next Game) The Germans put up a stout defense!

An allied force of Japanese and British arrived in September 1914 to lay siege on the port city.
The Germans had a unit in the forward farm near the fountain. They also had a unit in the woods to the left. The Germans defending the buildings sent a unit out to meet the attackers in the woods to the right. I thought it was going to be a disaster, but it ended up being a great strategy. Of course, another great "strategy" was the German heavy mortar hitting 9 out of 10 shots (needing a 6). It was devastating.
An allied force of Japanese and British arrived in September 1914 to lay siege on the port city.
The Germans were able to hold the buildings and secure a victory!!
It is the morning of November 7th, 1914, when an allied force of Japanese and British hope that last night's battle went well
More to come.

Tuesday, August 22, 2017

Tequila Worms (and a wizard) end result....

To All,

The resin has set and we are ready to see how it went...

Figures came out of the mold smoothly and look good.

The end of the fiddle didn't come out. I'm going to check to see if it is still in the mold or a bubble blocked that part of the cavity.

I'm pretty happy with the result.

Monday, August 21, 2017

Casting Tequila Worms (and a wizard) in resin, Part 3......

To All,

The mold has set and by the look of it seems to free of bubbles.
The tape is cut away...

...and the mold pulled of the base. As you can see, parts of the original figures stayed on the base (sorry Mike).

After removing the figures from the mold,......

...... a little glue and they are back in shape.

Finished mold.


Because the figures all have brimmed hats to help avoid bubbles I'm going to use the vacuum chamber for the resin. Smooth-Cast 310 has a pot life of 15 minutes and a cure time of 3 hours.

Equal parts of part A and Part B......

....and into the chamber for 3 minutes.

I spray each avity in the mold with Mann's Ease Release 200.....

...and pour into the mold.

More to come.

Saturday, August 19, 2017

Casting Tequila Worms (and a wizard) in resin, Part 2......

To All,

Alright, the box is set and ready to make the mold.

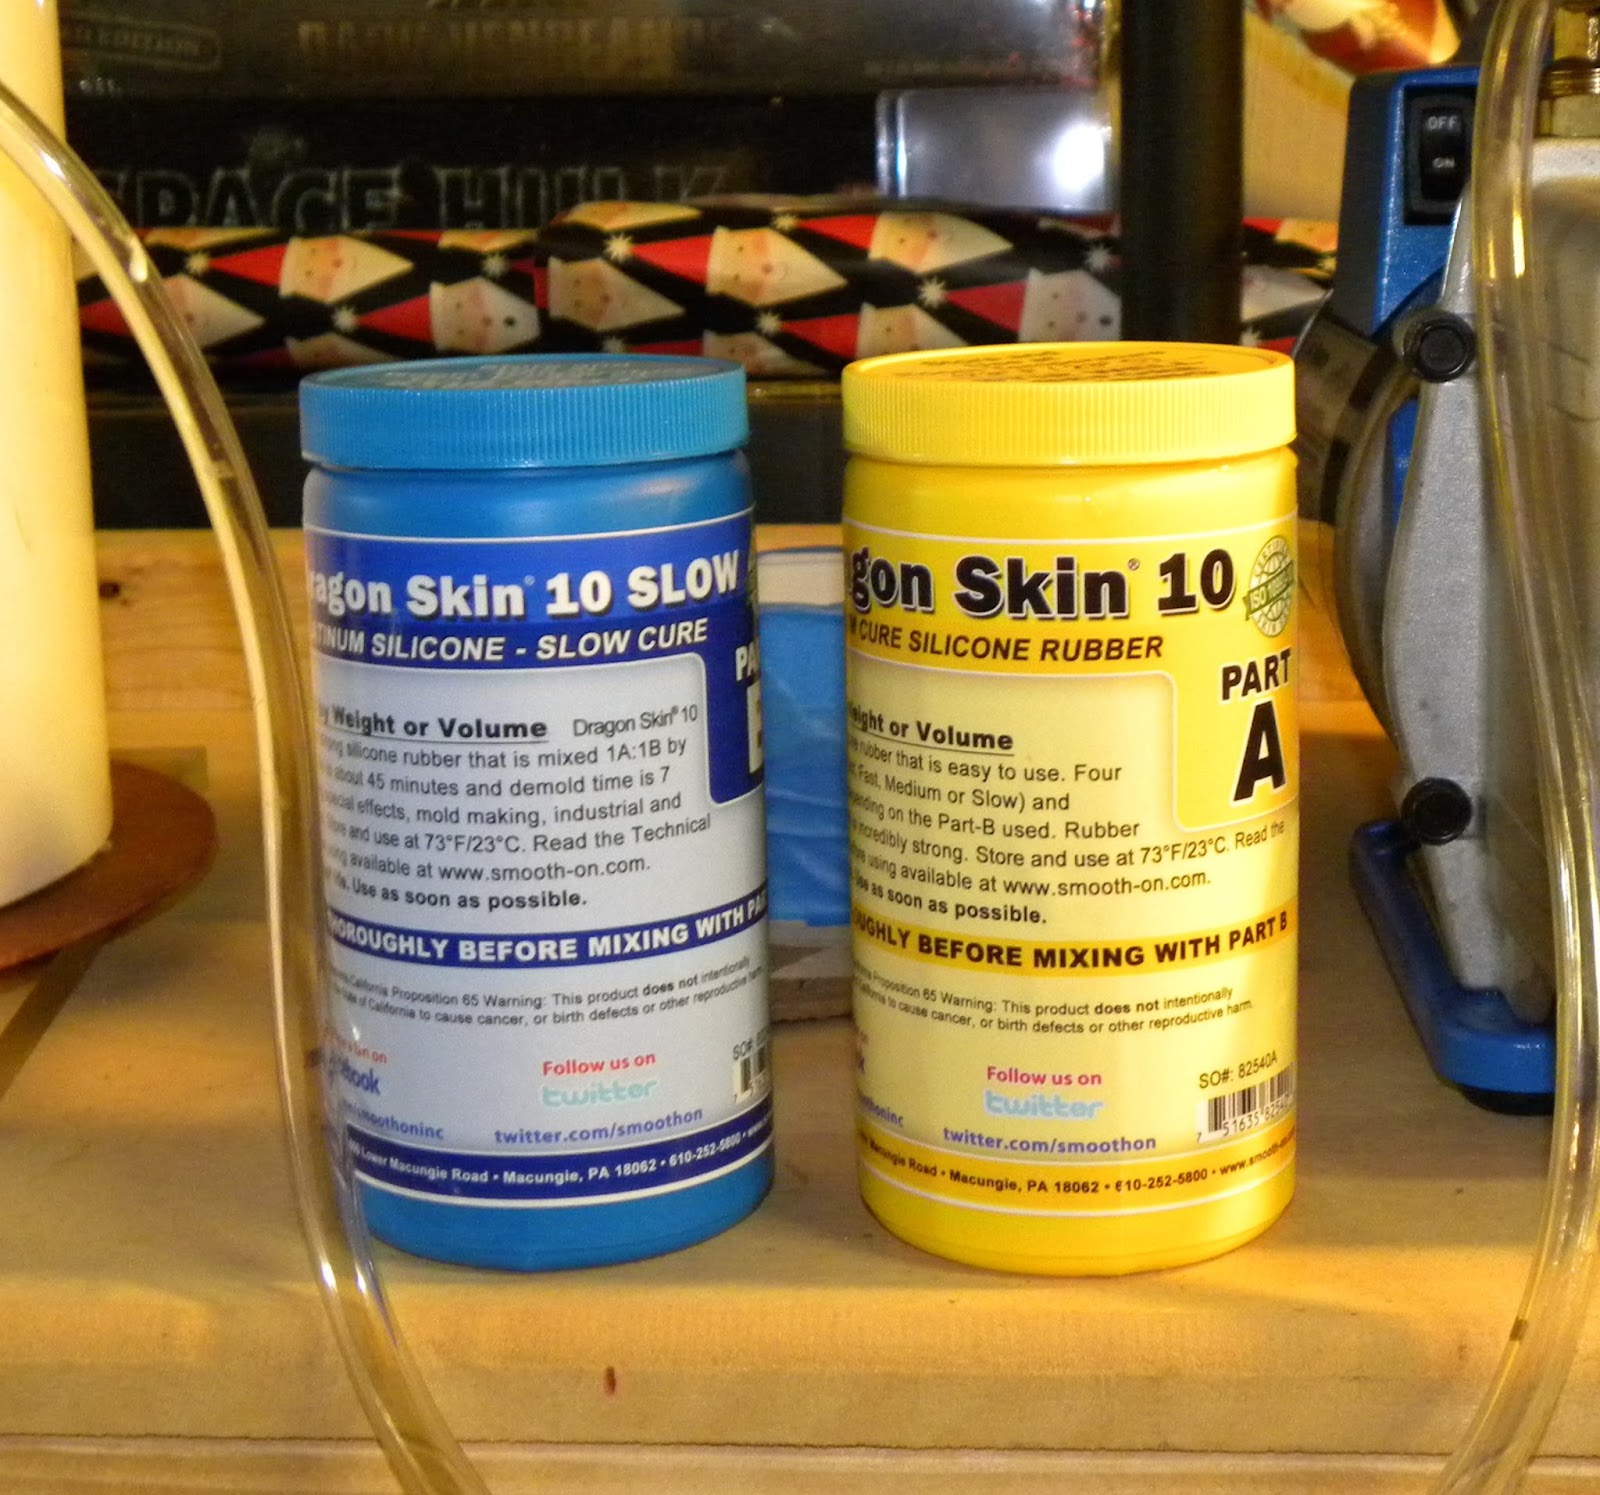
For most of my molds I use Smooth-On Dragon Skin 10 Slow. Dragon Skin is a softer and more more pliable than other Smooth-on products and I go with the "Slow" because I'm going to use the a vacuum chamber and I prefer the 45 minute pot life so I am not rushed.


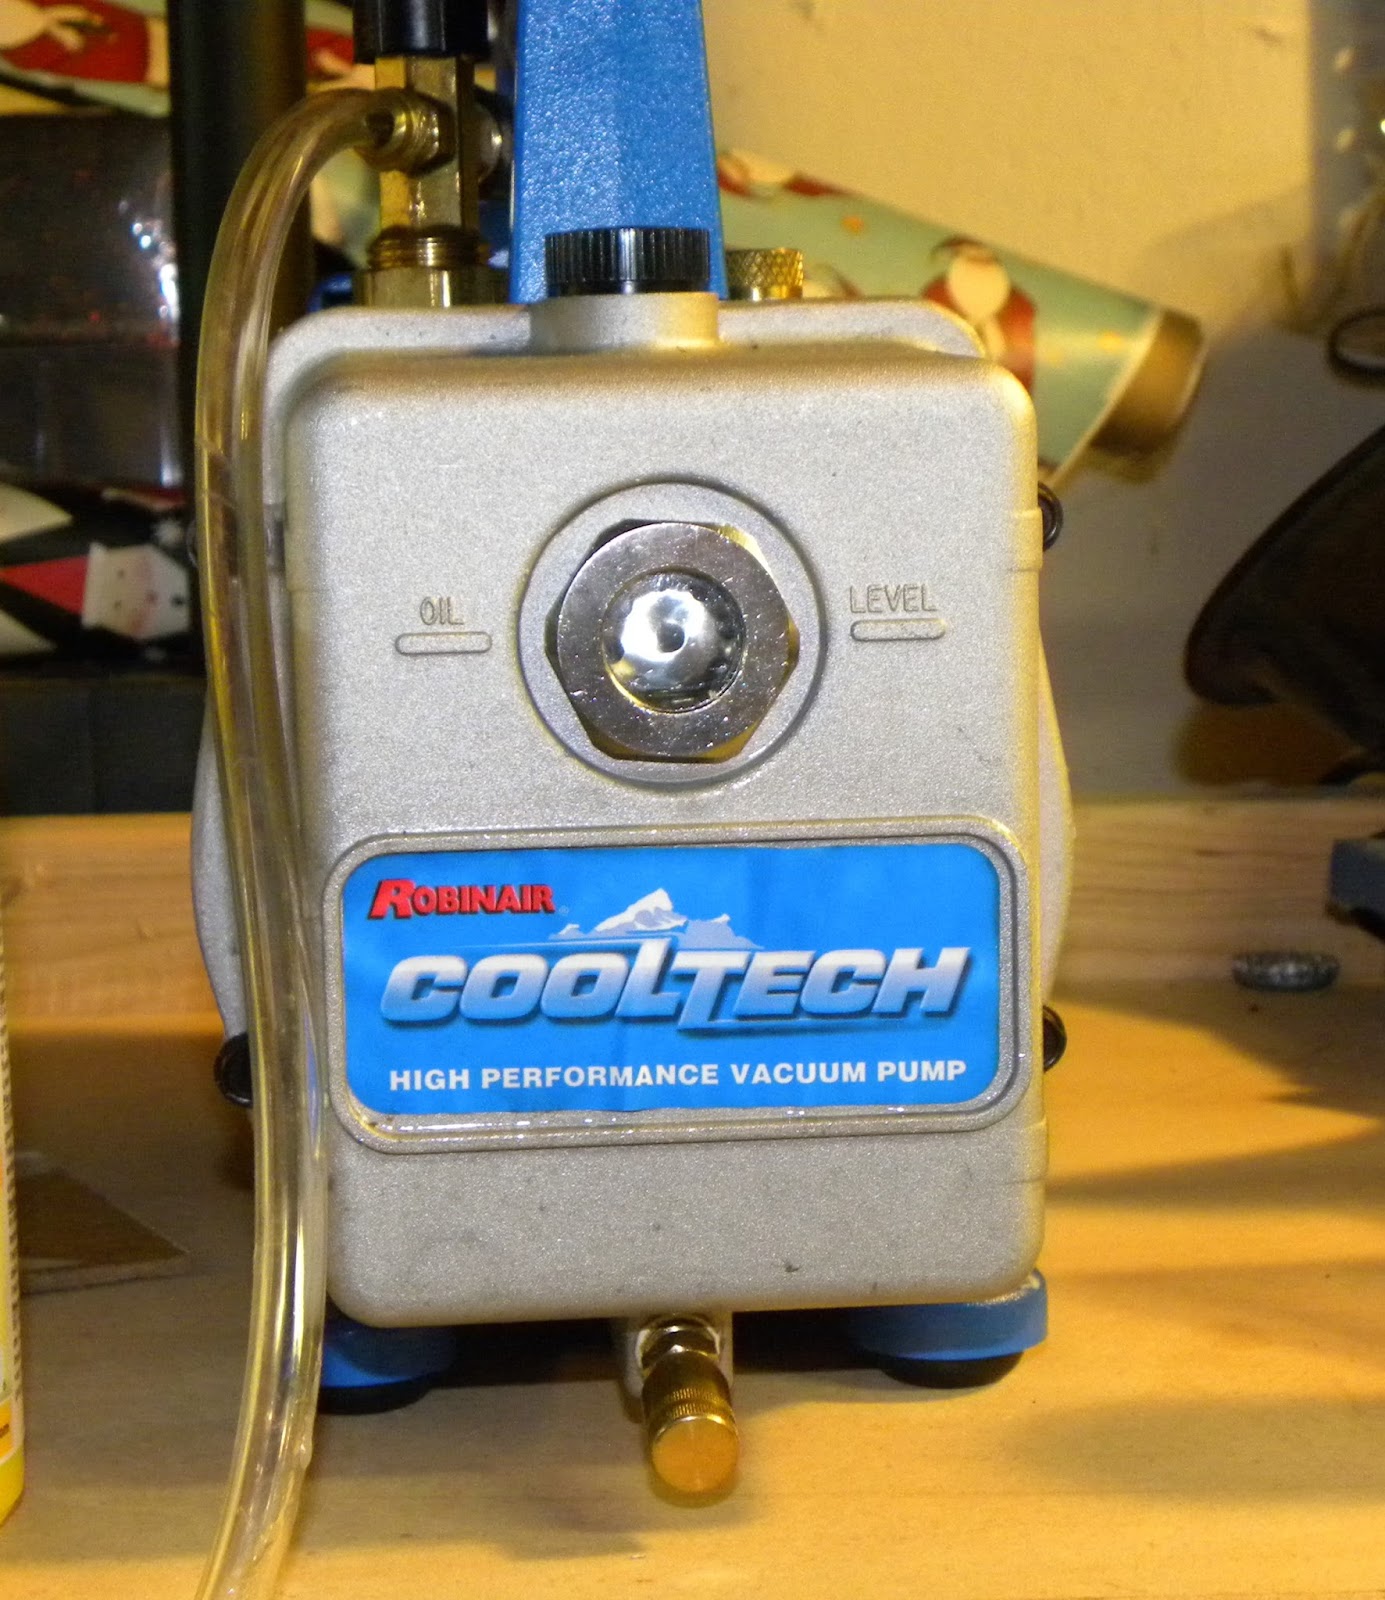
I am using a CoolTech vacuum pump and an ArtMolds vacuum Chamber. I have been using these for years and they are both reliable and easy to use.


The Dragon Skin is easy to use and measures at a 1:1 ratio. I mix part A and Part B in a stainless steel bowl. The stainless steel bowl is great in the vacuum chamber and can be used over & over again because the cured mold rubber just peels right off of it.

You can see the bubbles in the rubber after mixing parts A and B.
Into the vacuum chamber to draw all bubbles/air out of the liquid rubber.

The rubber rises, the bubbles rise up and release, and then the rubber collapses on itself.

Ready to pour...

A generous spray of Mann Ease Release 200 into the box.....

...and then a pour from height. The reason for this is two-fold; bubbles pop in the thin steam pouring from the bowl into the mold, and bubbles don't get trapped around the figures as the rubber rises slowly around the figures.

Into the vacuum chamber to pull out the remaining air...

....and the mold will set overnight.

More to come.

Thursday, August 17, 2017

Casting Tequila Worms (and a wizard) in resin......

To All,

My friend Mike Lung is mildly obsessed with a homegrown sci-fi/pulp western game he has been developing and he has been sculpting and modifying figures for the game. He asked me to see if I can make resin casts of the figures and gave me a few to try.

First, using wood glue, I glued the figures to a piece of Luan Panel cut so that it will fit into the vacuum chamber. I use a very thin layer of glue so that the figures hold, there is a "seal" around the base of the figure, but the glue doesn't seep out and "add" to the figure and the base.


The figures are spaced so that there is roughly a finger width between them. They can be closer but in my experience this will help with the integrity of the mold over time.

Next I use foamcore to make the box. I measured for height....

 ....and begin to score the foamcore. I only score the outside paper and attempt to keep the inner layer of paper intact.

Here is the foamcore around the figures forming the "box." Every time I want to make it smaller I just score and bend.

Using thin masking tape I seal and secure the bottom of the box. Then using the thicker tape I shore up and seal the box.

 This step can probably be skipped but I then wrap the box in painters tape. I do it because I wanted to give the box more structure in the vacuum chamber but if it is necessary I can't  say.

Here is the completed box, making the mold tonight.

  More to come.....