Showing posts with label gnome wars. Show all posts

Monday, March 25, 2019

Gnome Wars - Cold Wars 2019

To All,

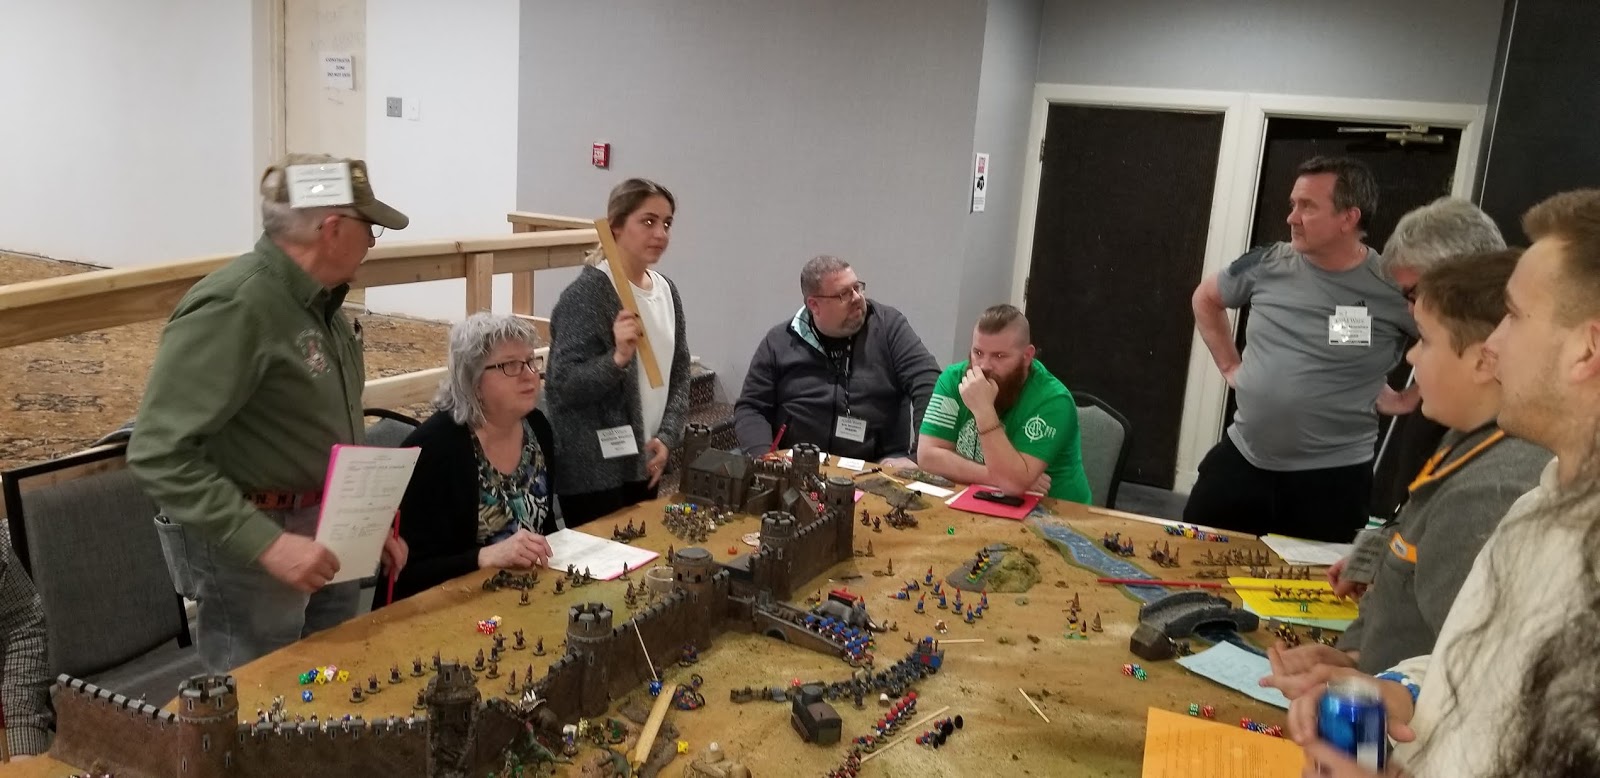
Here are a few images from the Gnome Wars game that I ran on Saturday night at Cold Wars. The Germans were trying to hold the castle from the allies.

The Undead rush through the breach in the wall...
The Leprechauns, British Marines, and the Cavemen/dinosaurs all rushed for the breach. It seemed the Germans holding the breach were going to get overrun, but the witch cast a spell and summoned the Undead army.  The skeletons rushed through the breach and entered the melee, causing chaos and plugging the breach for a bunch of turns.
Elias sorting out the melee. 
Everyone awaiting the outcome of the melee. Everyone who survived was lock in combat for the next turn.
Derrick "The Viking" attacking with the pirates. 
One unit of Swiss and the Sikhs press the center. They concentrated their mortar fire on the gate house and caused it to crumble. A mad and bloody dash ensued.
The Undead and Leprechauns still
fighting in front of the breach.
The Witch responded by sending the pumpkins (the pumpkins explode like mortar shots) and the zombies in that direction. The attacking pirates seize that opportunity and fling Lucky Lon over the wall.

The witch blowing up Swiss with the pumpkins...


A unit of Swiss get blown up on the bridge, which also destroys it, but that seems like a distraction as.....
Swiss come up through a tunnel and
Swiss Cheese a unit of Germans.
...two complete units of Swiss pop up through tunnels and "lay down the Swiss." As that is happening the dinosaurs rush through the breach causing general disarray.
The dreaded Cheese Suffocation rule comes int effect.
The allies took the left side of the castle but the two veteran players on the right side keep it from becoming an allied victory. We'll continue next convention.

Tuesday, August 22, 2017

Tequila Worms (and a wizard) end result....

To All,

The resin has set and we are ready to see how it went...

Figures came out of the mold smoothly and look good.

The end of the fiddle didn't come out. I'm going to check to see if it is still in the mold or a bubble blocked that part of the cavity.

I'm pretty happy with the result.

Monday, August 21, 2017

Casting Tequila Worms (and a wizard) in resin, Part 3......

To All,

The mold has set and by the look of it seems to free of bubbles.
The tape is cut away...

...and the mold pulled of the base. As you can see, parts of the original figures stayed on the base (sorry Mike).

After removing the figures from the mold,......

...... a little glue and they are back in shape.

Finished mold.


Because the figures all have brimmed hats to help avoid bubbles I'm going to use the vacuum chamber for the resin. Smooth-Cast 310 has a pot life of 15 minutes and a cure time of 3 hours.

Equal parts of part A and Part B......

....and into the chamber for 3 minutes.

I spray each avity in the mold with Mann's Ease Release 200.....

...and pour into the mold.

More to come.

Saturday, August 19, 2017

Casting Tequila Worms (and a wizard) in resin, Part 2......

To All,

Alright, the box is set and ready to make the mold.

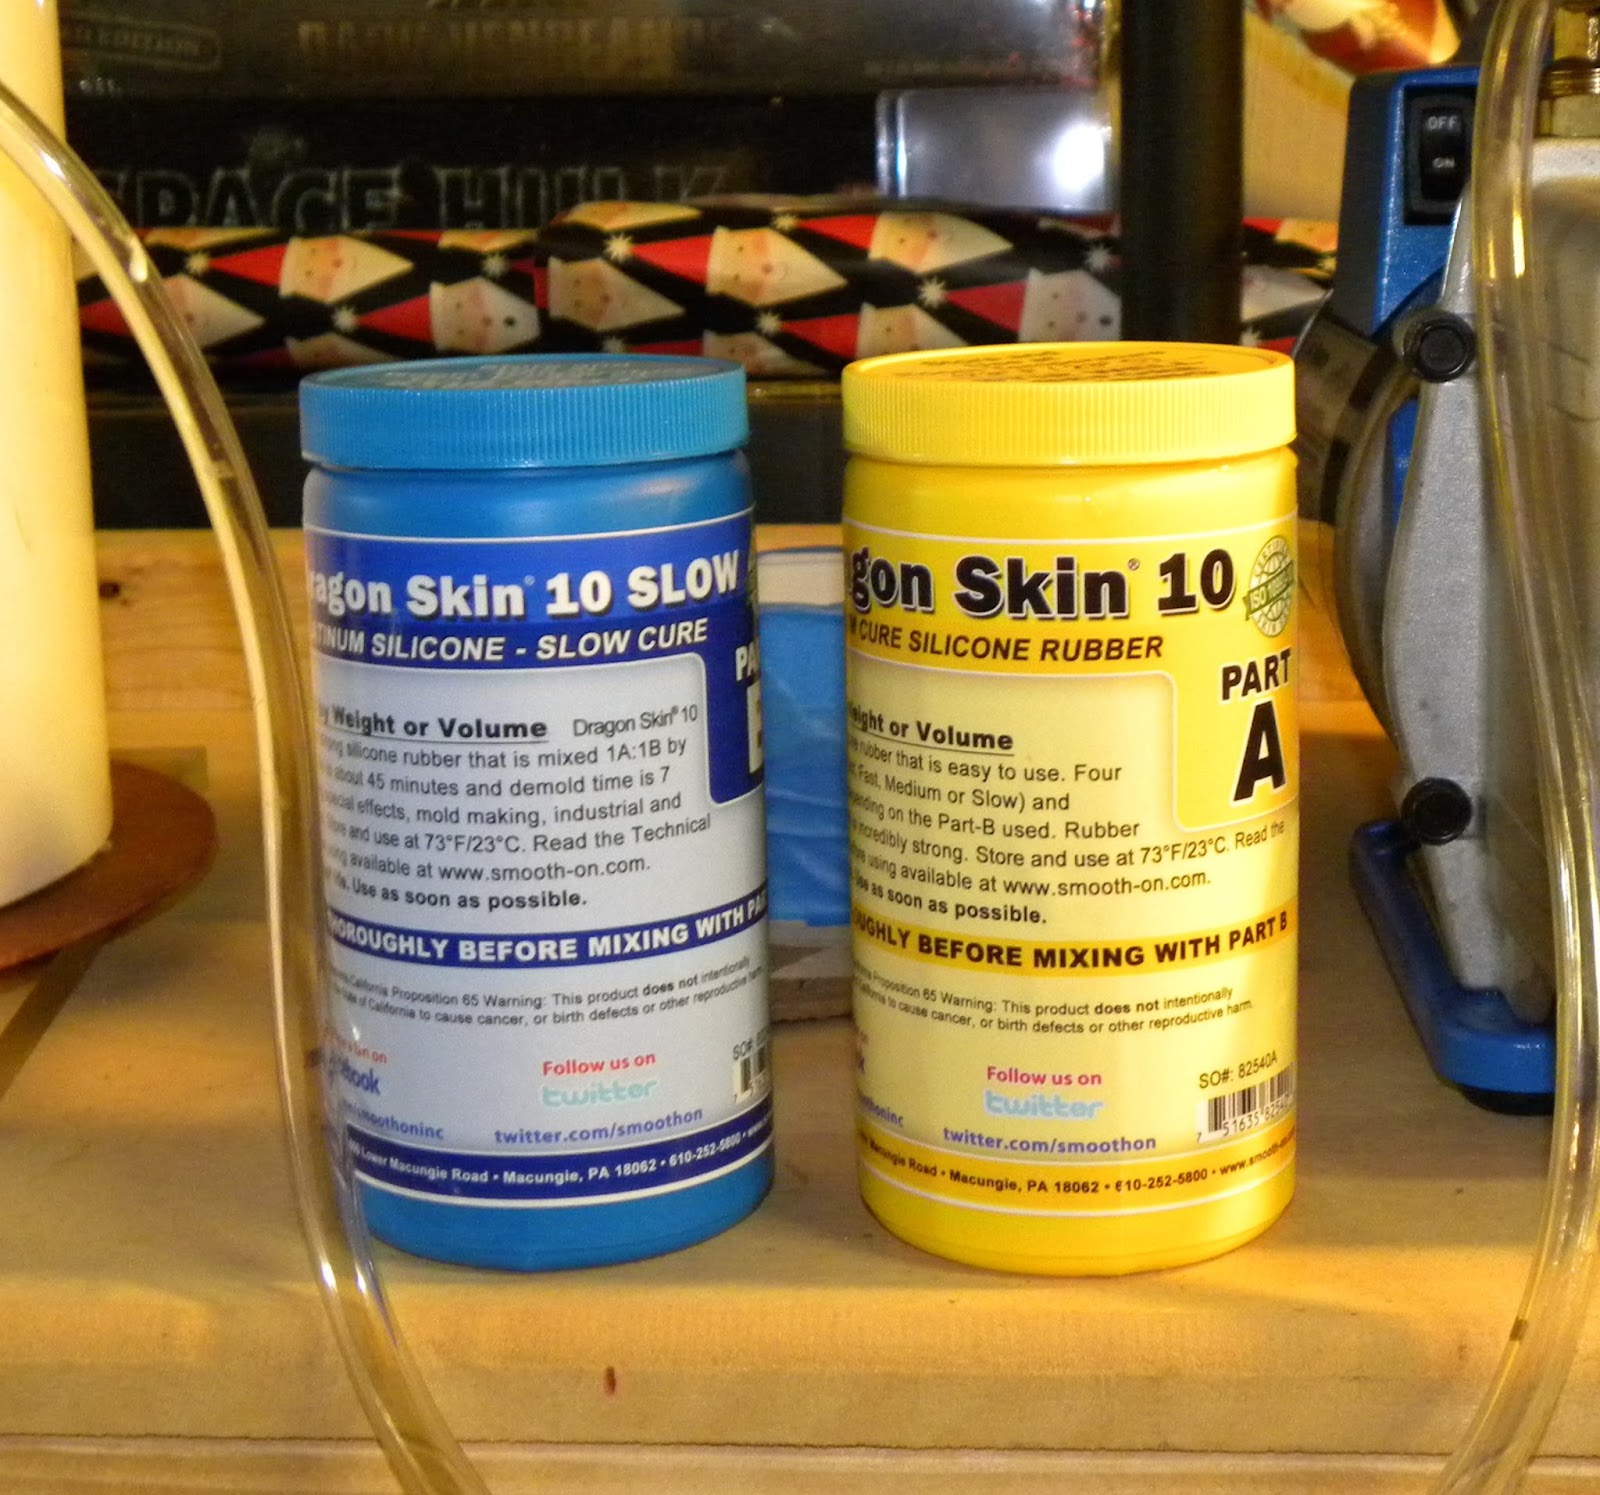
For most of my molds I use Smooth-On Dragon Skin 10 Slow. Dragon Skin is a softer and more more pliable than other Smooth-on products and I go with the "Slow" because I'm going to use the a vacuum chamber and I prefer the 45 minute pot life so I am not rushed.


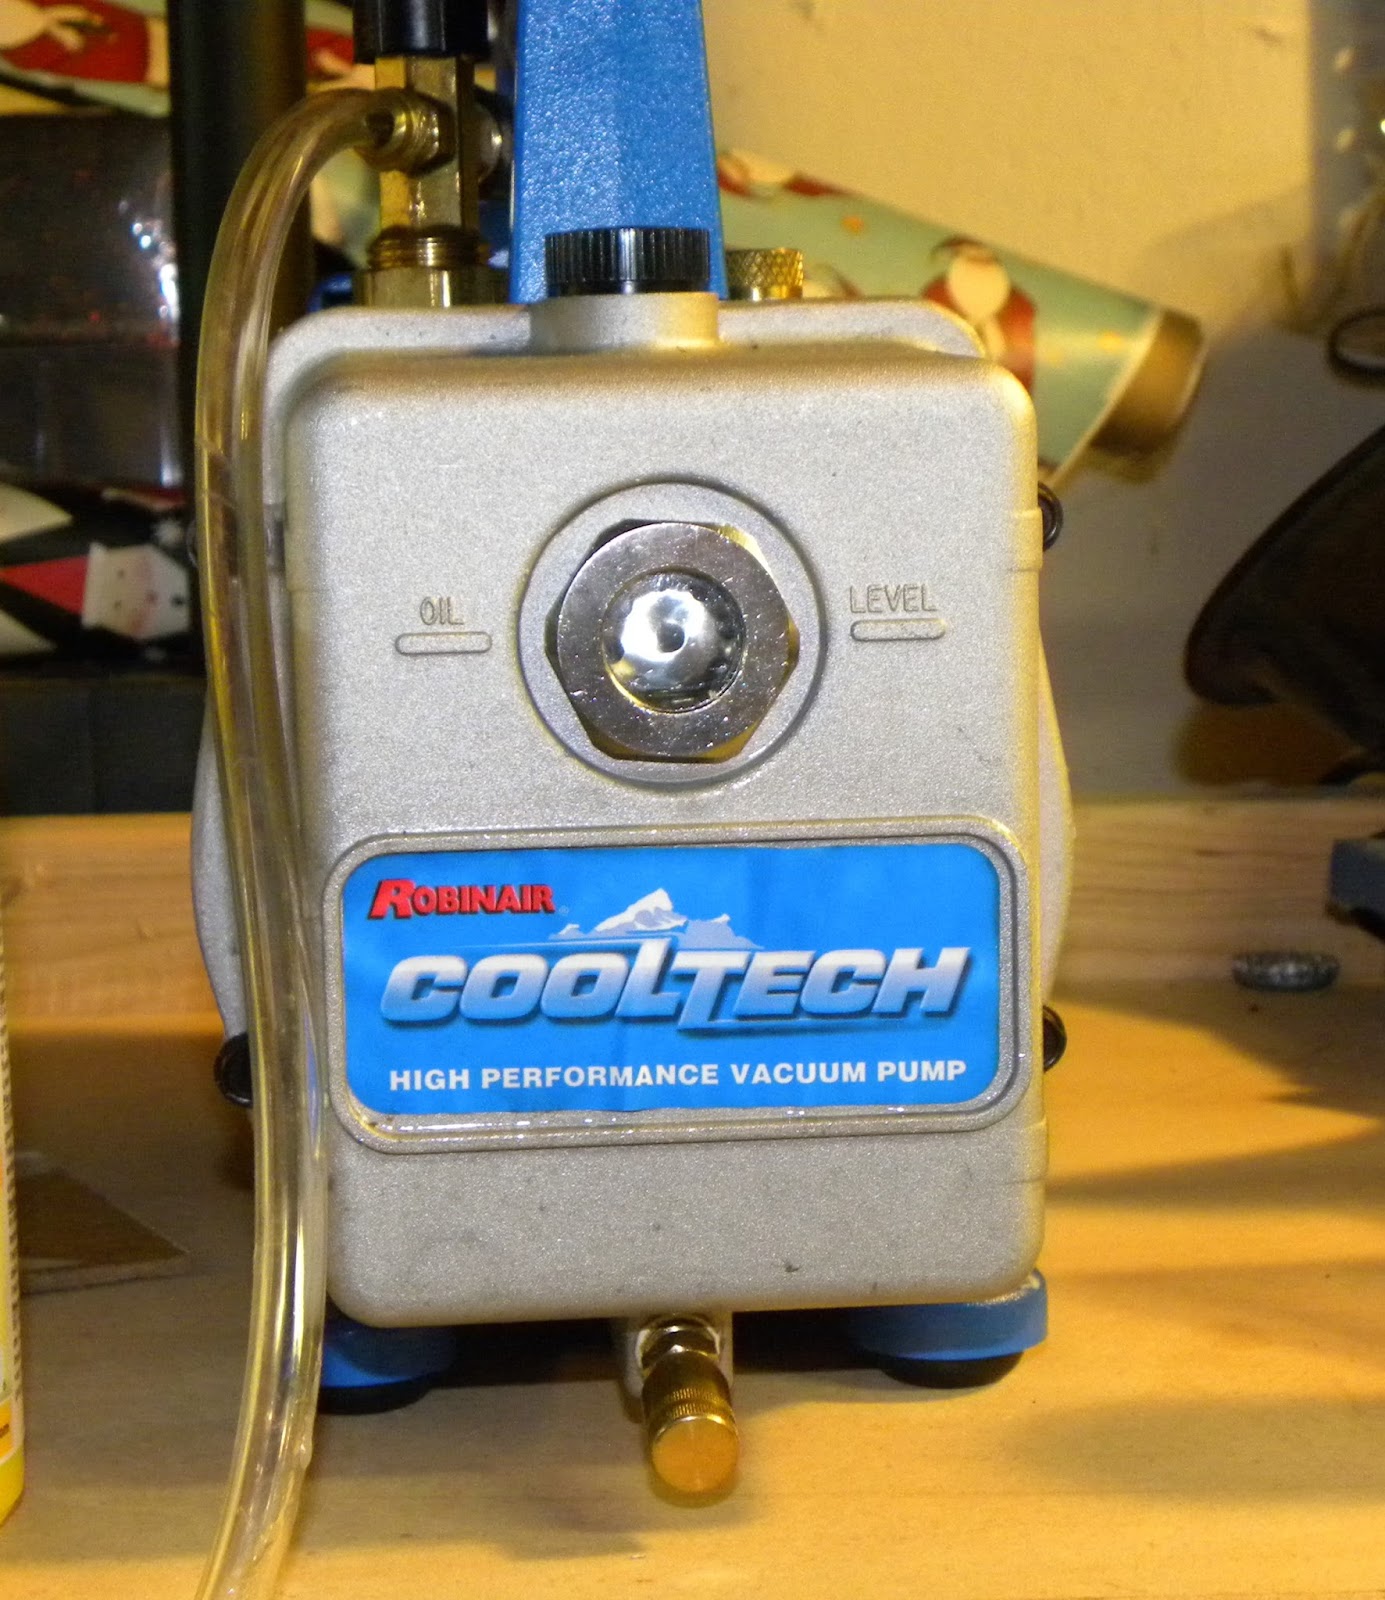
I am using a CoolTech vacuum pump and an ArtMolds vacuum Chamber. I have been using these for years and they are both reliable and easy to use.


The Dragon Skin is easy to use and measures at a 1:1 ratio. I mix part A and Part B in a stainless steel bowl. The stainless steel bowl is great in the vacuum chamber and can be used over & over again because the cured mold rubber just peels right off of it.

You can see the bubbles in the rubber after mixing parts A and B.
Into the vacuum chamber to draw all bubbles/air out of the liquid rubber.

The rubber rises, the bubbles rise up and release, and then the rubber collapses on itself.

Ready to pour...

A generous spray of Mann Ease Release 200 into the box.....

...and then a pour from height. The reason for this is two-fold; bubbles pop in the thin steam pouring from the bowl into the mold, and bubbles don't get trapped around the figures as the rubber rises slowly around the figures.

Into the vacuum chamber to pull out the remaining air...

....and the mold will set overnight.

More to come.

Thursday, August 17, 2017

Casting Tequila Worms (and a wizard) in resin......

To All,

My friend Mike Lung is mildly obsessed with a homegrown sci-fi/pulp western game he has been developing and he has been sculpting and modifying figures for the game. He asked me to see if I can make resin casts of the figures and gave me a few to try.

First, using wood glue, I glued the figures to a piece of Luan Panel cut so that it will fit into the vacuum chamber. I use a very thin layer of glue so that the figures hold, there is a "seal" around the base of the figure, but the glue doesn't seep out and "add" to the figure and the base.


The figures are spaced so that there is roughly a finger width between them. They can be closer but in my experience this will help with the integrity of the mold over time.

Next I use foamcore to make the box. I measured for height....

 ....and begin to score the foamcore. I only score the outside paper and attempt to keep the inner layer of paper intact.

Here is the foamcore around the figures forming the "box." Every time I want to make it smaller I just score and bend.

Using thin masking tape I seal and secure the bottom of the box. Then using the thicker tape I shore up and seal the box.

 This step can probably be skipped but I then wrap the box in painters tape. I do it because I wanted to give the box more structure in the vacuum chamber but if it is necessary I can't  say.

Here is the completed box, making the mold tonight.

  More to come.....